

Hello, Trailblazers! The new challenge Apocalyptic Shadow -- Warlord of the Locusts in Honkai Star Rail 3.2 has just refreshed. This round's bosses feature the Sky-Shrouding Stardevourer Swarm and Fulminating Wolflord. Wondering how to defeat these formidable foes? Don't worry - here we provide a detailed analysis of enemy mechanics and best team compositions to help you achieve that perfect full-star clear! Keep reading!
 Top up Honkai: Star Rail on LDShop
 Enjoy up to 25% OFF on game top-ups.
  Delivered in 3 minutes, play non-stop.
  4.9/5 on Trustpilot - Trusted by gamers worldwide.
  Safe partnership route, your account and wallet is protected.

Table of Contents
Challenge Buff

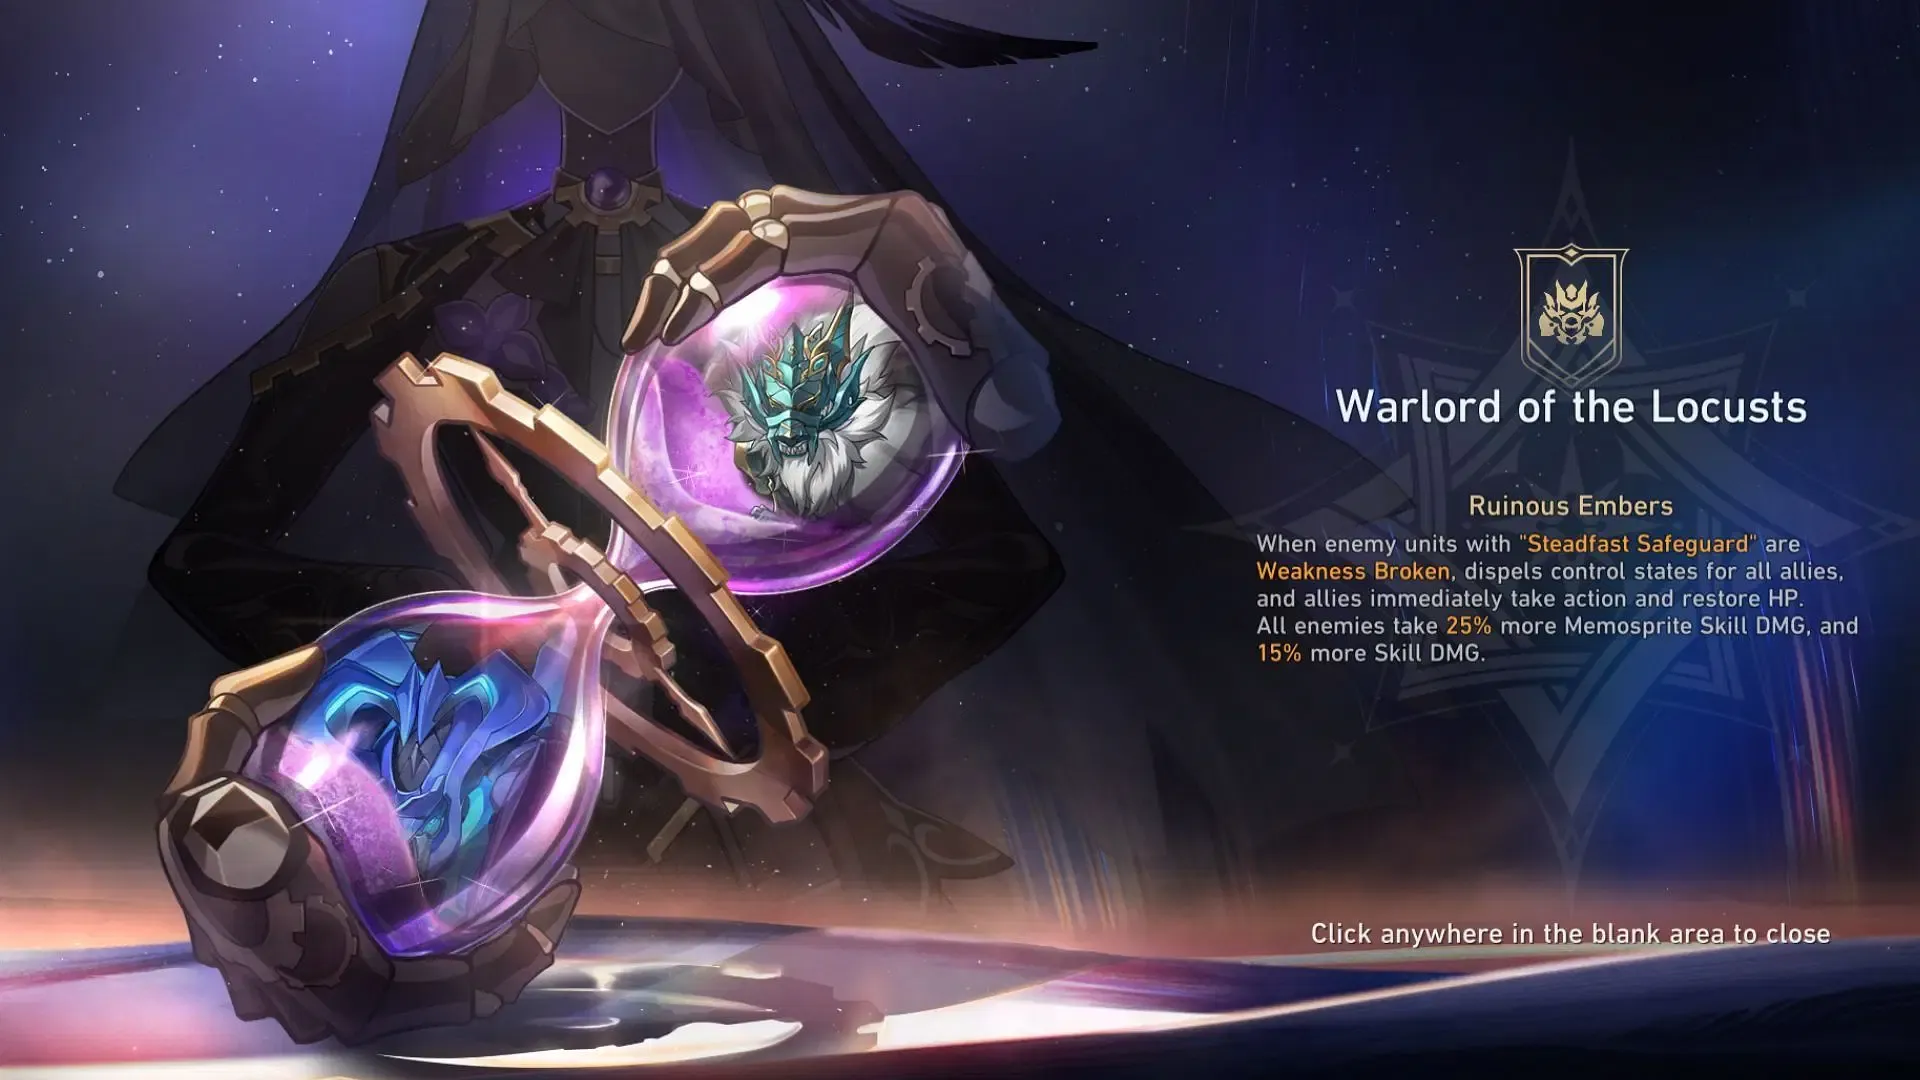
The challenge's first half prioritizes AoE clearing efficiency to manage waves of summons while the second half demands precise single-target burst damage and effective toughness-breaking tactics. With the Ruinous Embers buff in play, Remembrance Path characters and skill-oriented DPS units will prove particularly effective.
Node 1: Sky-Shrouding Stardevourer Swarm

Boss Mechanic & Counterplay
Core Mechanic: The boss possesses a high-frequency summoning ability - when attacked, it will summon two types of insects: Physical/Ice/Nihility "Gnaw Stings" or Physical/Fire/Nihility "Lesser Stings." Defeating these summoned creatures can reduce both the Boss Mirage's Insect Egg count and Toughness. However, the boss will inflict the Entanglement debuff on targets, making cleanse support characters essential for counterplay.
Counterplay:
● Swift Summons Clearance: Prioritize defeating Physical/Ice/Nihility weaknesses and using high-frequency AoE units to quickly eliminate summons, thereby triggering either "Decay Eulogy" or "Entomon Eulogy" for chained Toughness reduction.
● Debuff Resistance: It's crucial to bring cleanse supports such as Lingsha or Aventurine, or alternatively enhance Effect RES through buffs to safeguard key units from being disabled.
Node 1 Buffs

Knowledge and Decorum: While any character following the Path of Erudition is in the team, increases all allies' All-Type RESPEN by 15%.
——Erudition Enhancement: Optimized for dual Herta team and Rappa hyperbreak teams.
Stunning Remark: Increases Ultimate DMG dealt by all allies by 50% and Effect RES by 50%.
——Ultimate Enhancement: Perfect for burst-type ultimate characters like Acheron.
No Turning Back: After any ally target consumes their own HP, increases their DMG dealt by 55% for 3 turn(s).
——HP Consumption DMG Boost: Optimized for HP-based main DPS like Catorice and Mydei.
The Herta Team -- Knowledge and Decorum
|
The Herta + Herta + Tribbie + Lingsha |
|
|


This dual-Erudition team composition built around The Herta excels at rapidly clearing enemy summons while delivering devastating single-target damage through Herta's enhanced Skill after breaking Weakness. Lingsha provides crucial teamwide debuff cleansing to maintain damage uptime, with Tribbie being replaceable by Ruan Mei when needed.
Rappa Team -- Knowledge and Decorum
|
Rappa + Ruan Mei + Fugue + Lingsha |
|
|


The endlessly summons allow Rappa to rapidly stack her passive to high levels and unleash massive damage.
Acheron Team -- Stunning Remark
|
Acheron + Lingsha + Jiaoqiu + Aventurine |
|
|


Castorice Team -- No Turning Back
|
Castorice + Trailblazer-Remembrance + Tribbie + Gallagher |
|
|


Mydei Team -- No Turning Back
|
Mydei + Sunday + Tribbie + Luocha |
|
|


Mydei and Castorice, who debuted in Version 3.1 & 3.2, have emerged as premier choices for the "Warlord of the Locusts" challenge thanks to their distinctive HP consumption mechanics that perfectly synchronize with the boss' vulnerability windows. That said, teams must exercise particular caution by including a dependable healer to offset survival pressure, sustain combat longevity, and avoid early unit casualties.
Node 2: Fulminating Wolflord

Boss Mechanic & Counterplay
Core Mechanic: Boss Mirage accumulates "Bloodlust" stacks whenever players defeat Wolftroopers. Upon reaching 5 stacks, it activates its "Lunar Devourer" state, triggering a mandatory "Going Solo" duel where your strongest ally character (with 75% damage reduction and inherited team stats) must engage the boss.
Effective counterplay requires preemptive Toughness depletion before this phase. Notably, each Wolftrooper defeat grants valuable "Blood Surge" buffs (boosting damage output and Toughness reduction efficiency), making the "Going Solo" state's Break windows crucial for delivering decisive burst damage.
Counterplay:
● Rapid Wolftroopers Clearance: Use high-frequency AoE units for rapid elimination to efficiently stack Blood Surge buffs.
● Solo DMG Output: When facing the "Going Solo" phase, focus on aggressively depleting the boss's Toughness while maximizing damage output during the limited buff window for optimal results.
Node 2 Buffs

Sweeping Storm: When any ally target Breaks an enemy target's Weakness, increases all ally targets' SPD by 20%for 2 turn(s).
——Break Efficiency Boost: Ideal for Break-focused units like Firefly.
Withered Tree's Revival: After any ally target's HP was consumed, they restore HP equal to 60% of the HP consumed. Thiscan restore a maximum of 50% HP per turn.
——HP Burn Energy Regen: Exclusive buff for Castorice and it significantly enhances the self-destruct playstyle efficiency.
Pursue and Eliminate: Increases ally targets' Follow-up ATK DMG dealt by 30%, with an additional increase of 30% againstenemy targets that are Weakness Broken.
——Follow-Up DMG Boost: Ideal for follow-up attack teams like Feixiao and Topaz.
Break-based Team -- Sweeping Storm
|
Boothill / Firefly + Trailblazer-Remembrance + Ruan Mei + Gallagher |
|
|
|
|


Firefly excels at countering the Fulminating Wolflord's summoning patterns with her triple-target attacks, while Boothill capitalizes on the boss's Physical weakness to deliver devastating burst damage. For best team composition, include strong healers to alleviate survival pressure - though with sufficient Break efficiency, you may opt to replace Gallagher with either Fuxuan or Huohuo as your sustain option.
Follow-up Attack Team -- Pursue and Eliminate
|
Feixiao + Topaz + Robin + Aventurine |
|
|


HP-burning Team -- Withered Tree's Revival
|
Castorice + Trailblazer-Remembrance + Tribbie + Gallagher |
|
|
The Fulminating Wolflord's 40% Nihility Resistance makes Mydei suboptimal for Node 2. However, Castorice team from Node 1 remain perfectly viable here since the "Going Solo" mechanic synergizes exceptionally well with her damage rotation pattern.
This concludes our comprehensive guide for Apocalyptic Shadow -- Warlord of the Locusts guide in Honkai Star Rail 3.2. With these mechanics mastered and proper team compositions, we're confident you'll secure that full-star clear!
For those needing to grab more resources, LDshop offers the most cost-effective HSR top-ups—get more Oneric Shard at better prices and dominate the challenge! The battlefield awaits—deploy your strategy now!
Top up Honkai: Star Rail on LDShop
Enjoy up to 25% OFF on game top-ups. Delivered in 3 minutes, play non-stop. 4.9/5 on Trustpilot - Trusted by gamers worldwide. Safe partnership route, your account and wallet is protected.

Ivi Asen Experienced gaming writer
Ivi Asen is an RPG enthusiast and strategy guide wizard who lives for breaking down complex game mechanics. From analyzing meta builds and pre-farming routes to delivering the latest updates, she specializes in turning convoluted in-game systems into practical, step-by-step tips. Her deep dives into titles like Zenless Zone Zero and Honkai: Star Rail help players crush the grind with maximum efficiency.


